Unicorns. Just the word conjures images of glitter, rainbows, and pure magic. For many children, these mythical creatures represent wonder, dreams, and endless possibilities. What better way to tap into that boundless imagination than through crafting? Crafting isn’t just about making something beautiful; it’s about spending quality time together, developing fine motor skills, fostering creativity, and building confidence.
As parents, we’re always looking for engaging activities that keep little hands busy and minds inspired. Unicorn crafts offer the perfect blend of enchantment and hands-on fun. Whether you have a tiny tot who loves sensory play or an older child ready for a more intricate project, there’s a unicorn craft out there that your kids will absolutely adore. Let’s dive into a world of sparkles, horns, and rainbows!
Sparkling Unicorn Wearables Kids Can Make
There’s something uniquely special about creating something you can wear. It’s a badge of honor, a declaration of creativity, and a ticket to imaginative play. These wearable unicorn crafts are simple enough for kids to make (with a little adult help) and provide hours of magical dress-up fun.
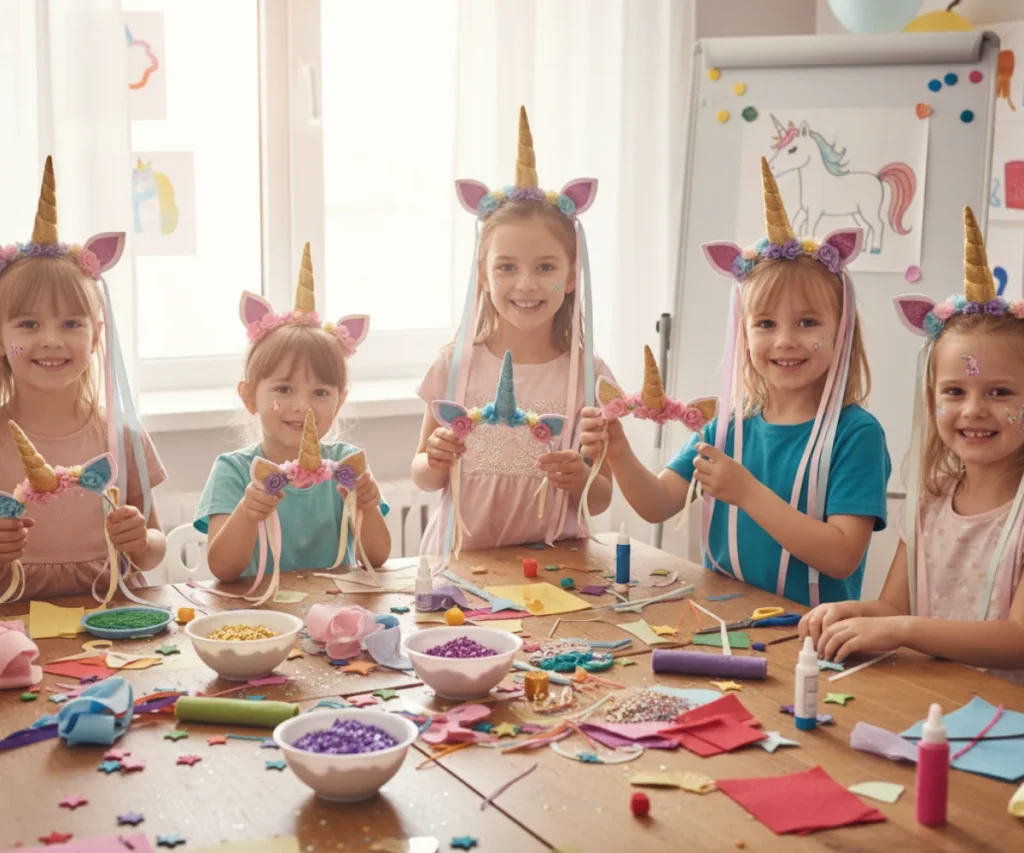
DIY Unicorn Headbands
A classic for a reason, unicorn headbands are surprisingly easy to make and offer endless customization options. Your child can choose their favorite colors, add extra sparkle, and truly make it their own.
Materials You’ll Need
- Plain headbands (plastic or fabric-covered)
- Felt in various colors (white, gold, pastel colors)
- Glitter cardstock
- Fabric flowers or ribbon
- Hot glue gun (adult supervision required) or strong craft glue
- Scissors
- Optional: Rhinestones, sequins, puffy paint
Step-by-Step Magical Creation
- Cut the Horn: From glitter cardstock or felt, cut a long triangle shape for the unicorn horn. Roll it into a cone and secure the edge with hot glue.
- Craft the Ears: Cut two ear shapes from white felt and two smaller inner ear shapes from a contrasting pastel felt. Glue the smaller felt onto the larger white felt.
- Assemble on Headband: Position the horn in the center of the headband and hot glue it firmly. Place the ears on either side of the horn, slightly angled, and glue them down.
- Decorate with Flair: Arrange fabric flowers and ribbons around the base of the horn and ears to hide the glue and add a whimsical touch. Let your child choose where to add rhinestones, sequins, or a swirl of puffy paint for extra sparkle.
Magical Unicorn Friendship Bracelets
Perfect for older children, these bracelets are a wonderful way to express friendship and a love for all things unicorn. They also help develop fine motor skills and patience.
Materials You’ll Need
- Colorful embroidery floss or thin yarn (rainbow colors, pastels, white, gold)
- Unicorn-themed beads or charms (optional)
- Scissors
- Measuring tape
Step-by-Step Sparkling Cuffs
- Measure and Cut: Cut several strands of embroidery floss, each about 30 inches long. You’ll want at least 6-8 strands for a good thickness.
- Start the Braid/Knot: Gather the strands, tie a knot at one end, and tape it to a table or secure it with a safety pin to a cushion.
- Braid or Macrame: Teach your child a simple braid, a square knot macrame, or a spiral knot technique.
- Incorporate Charms: If using, string unicorn charms onto a central strand before knotting.
- Finish Up: Once the bracelet is long enough to fit around the wrist, tie another knot to secure it. Trim excess floss.
Enchanting Unicorn Decor for Magical Spaces
Why limit unicorn magic to just play? Bring the wonder into your child’s everyday environment with these delightful unicorn-themed decor crafts. They’re a fantastic way for kids to personalize their space and feel a sense of pride in their creations.
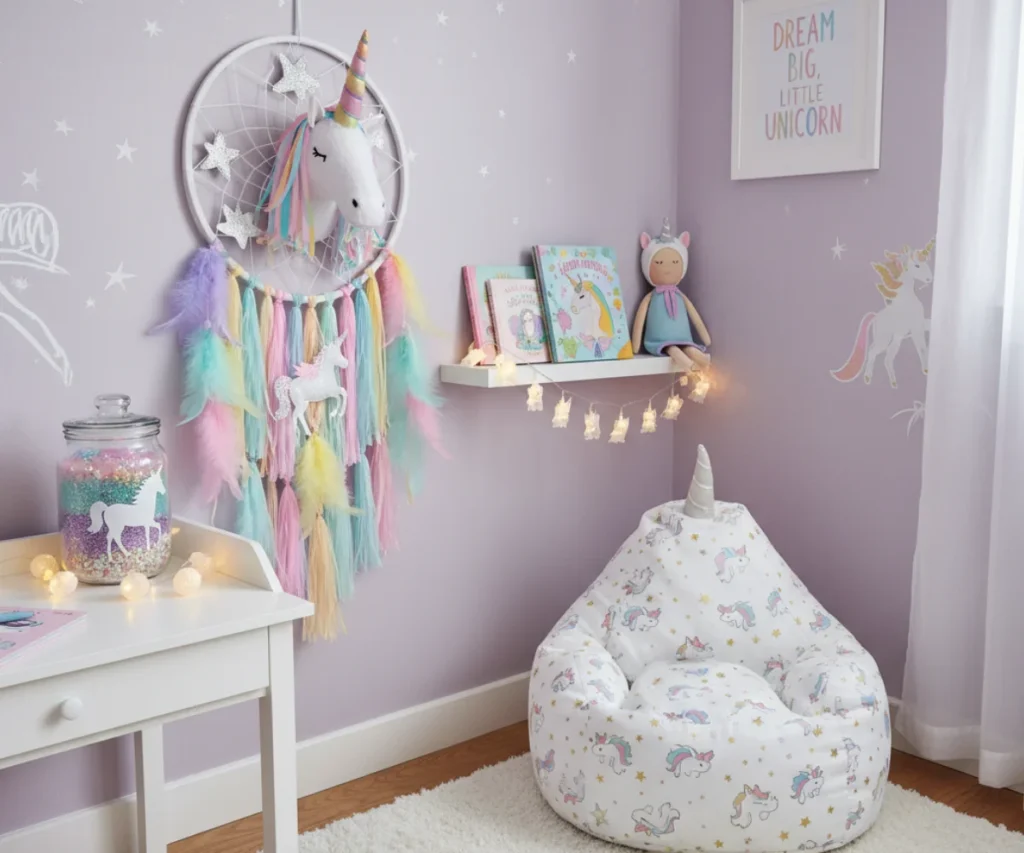
Fluffy Unicorn Dream Catchers
Dream catchers are beautiful and symbolic. Adding a unicorn twist makes them even more enchanting for a child’s bedroom.
Materials You’ll Need
- Embroidery hoop or metal craft ring
- Yarn in white, pastels, or rainbow colors
- Faux fur trim (white or pastel)
- Fabric flowers, beads, ribbons, glitter glue
- Scissors
Step-by-Step Dream Weaving
- Wrap the Hoop: Wrap the embroidery hoop tightly with white or pastel yarn until it’s completely covered. Secure the ends with glue.
- Create the Web: Using a contrasting yarn color, teach your child to weave a simple web pattern across the hoop. This can be as simple as looping the yarn around the hoop at intervals and then weaving inwards.
- Add the Mane: Cut strips of faux fur and various colored yarns/ribbons. Tie them along the bottom half of the hoop to create a fluffy unicorn mane.
- Decorate: Glue fabric flowers, beads, or small glittery embellishments onto the web or around the top of the hoop. Use glitter glue to add extra sparkle to the yarn.
Glittery Unicorn Jar Lanterns
These simple lanterns cast a magical glow, perfect as a nightlight or just for ambiance in a child’s room. They’re safe, easy, and wonderfully sparkly.
Materials You’ll Need
- Clean glass jar (mason jar or recycled jam jar)
- Mod Podge or white craft glue
- Glitter (fine and chunky, various colors)
- Unicorn silhouette cutouts (from cardstock or vinyl stickers)
- Tea light candle (battery-operated is safest)
- Optional: Ribbons, permanent markers
Step-by-Step Sparkle Jars
- Apply Glue: Paint the outside of the jar with a thin, even layer of Mod Podge.
- Add Glitter: While the glue is still wet, sprinkle generous amounts of glitter all over the jar. Rotate the jar to ensure even coverage. Let dry completely.
- Add Unicorn Silhouettes: Once dry, stick unicorn silhouette cutouts onto the glittered jar, or use permanent markers to draw simple unicorn outlines.
- Final Touches: Tie a ribbon around the rim of the jar for extra decoration. Place a battery-operated tea light inside to watch it glow.
Playful Unicorn Paper Crafts for Creative Fun
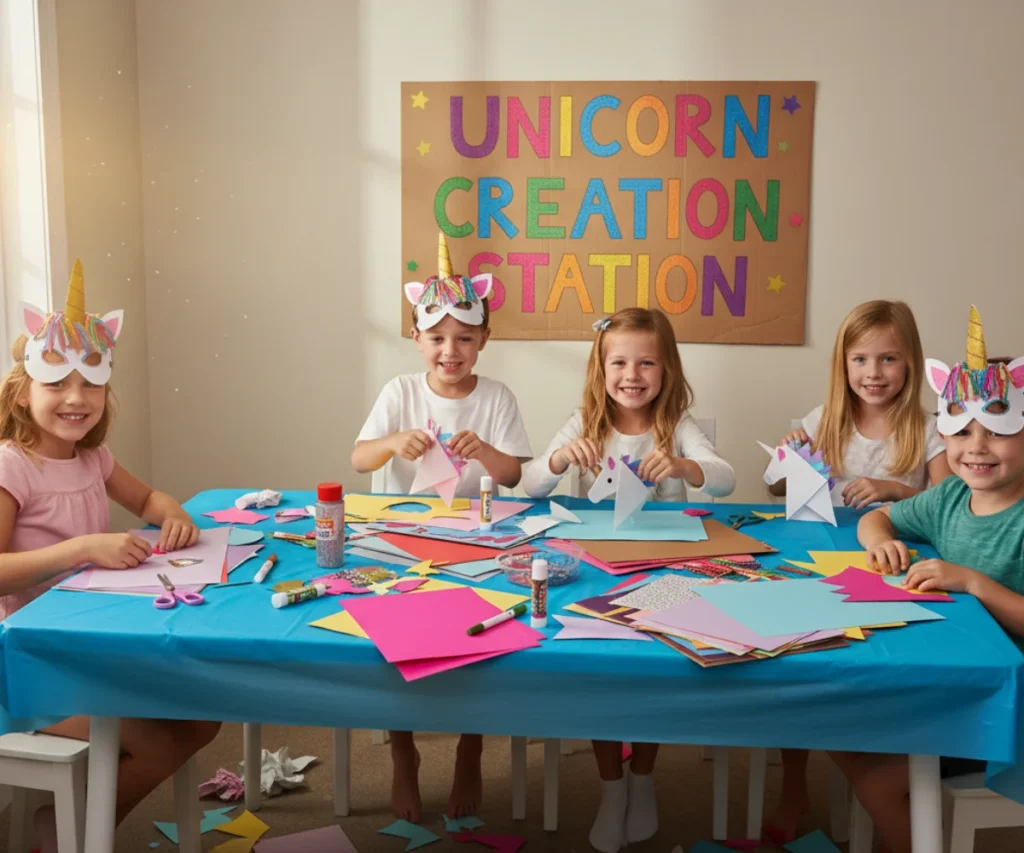
Paper crafts are a fantastic go-to for kids of all ages. They’re often low-cost, require minimal supplies, and provide a canvas for incredible imagination. From simple cut-and-paste activities to more intricate designs, paper unicorns are always a hit.
Paper Plate Unicorn Masks
A classic craft that transforms a simple paper plate into a magical disguise. These masks are great for imaginative play and parties.
Materials You’ll Need
- Paper plates
- White, pastel, and gold construction paper
- Craft paint or markers
- Glitter, sequins
- Elastic string or craft stick
- Glue stick or craft glue
- Scissors
Step-by-Step Mask Magic
- Prepare the Plate: Paint the paper plate white or a light pastel color. Let dry. Cut out eyeholes.
- Craft the Horn and Ears: From gold paper, cut a horn shape. From white paper, cut two ear shapes. Cut smaller inner ear shapes from pastel paper.
- Assemble the Face: Glue the horn to the top center of the plate. Glue the ears on either side of the horn.
- Decorate: Use markers or paint to draw rosy cheeks and eyelashes. Apply glue and sprinkle glitter around the horn and ears.
- Add the Holder: Punch a hole on each side of the mask and thread elastic string, or glue a craft stick to the bottom for holding.
Rainbow Unicorn Paper Chains
This is a super simple craft, perfect for younger children, that results in a colorful decoration they can proudly display.
Materials You’ll Need
- Construction paper in rainbow colors (red, orange, yellow, green, blue, purple) and white
- Glitter cardstock (for horns)
- Glue stick or stapler
- Scissors
- Optional: Unicorn stickers
Step-by-Step Chain Creation
- Cut Strips: Cut construction paper into strips, about 1 inch wide and 8 inches long.
- Form Loops: Take a strip of colored paper, form it into a loop, and secure the ends with glue or a staple.
- Link the Chain: Thread another strip through the first loop, form a loop, and secure. Continue alternating colors to create a rainbow chain.
- Add Unicorn Links: Interspersed throughout the chain, create white paper loops. Before securing these white loops, glue a small glitter cardstock horn and two tiny white paper ears to the top of the loop. This turns some links into mini unicorn heads!
Sensory Unicorn Fun for Little Explorers
Sensory play is crucial for young children’s development, engaging their senses and encouraging exploration. These unicorn-themed sensory crafts are not only magical but also provide a rich tactile experience.
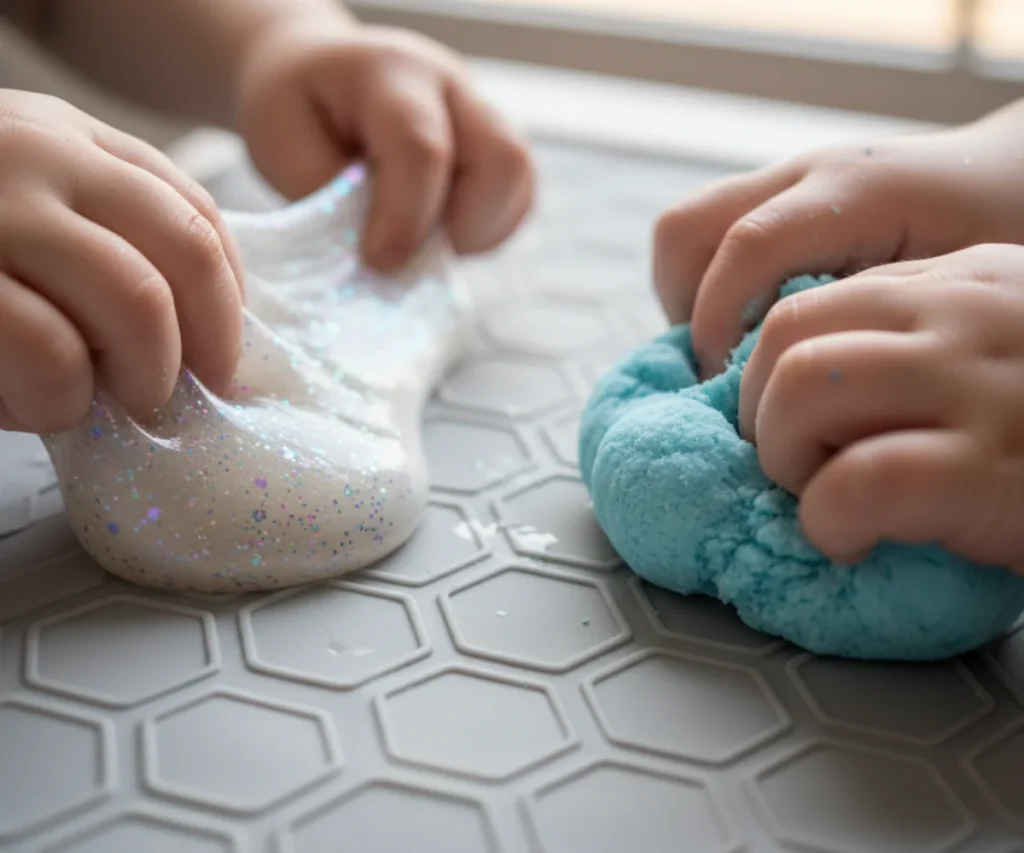
Sparkling Unicorn Slime
Slime is endlessly fascinating for kids, and a unicorn version takes it to a whole new level of enchantment with shimmer and pastels.
Materials You’ll Need
- Elmer’s clear glue
- Liquid starch (or borax solution, or contact lens solution + baking soda)
- Food coloring (pastel pink, blue, purple, yellow)
- Fine glitter (iridescent, silver, or colorful)
- Mixing bowls and spoons
Step-by-Step Slime Magic (Adult Supervision Highly Recommended)
- Mix Glue and Water: In a bowl, mix 1/2 cup of clear glue with 1/4 cup of water.
- Add Color and Glitter: Divide the glue mixture into 3-4 smaller bowls. Add a few drops of different pastel food coloring to each, along with a generous pinch of glitter. Mix well.
- Activate Slime: Gradually add liquid starch (start with 1/4 cup and add more slowly if needed) to each bowl, stirring continuously until the mixture pulls away from the sides of the bowl and forms a ball.
- Knead and Combine: Take the slime out and knead it until it’s less sticky. Once you have different colored slime balls, gently twist and knead them together to create a rainbow swirl effect.
Unicorn Playdough with Glitter
Homemade playdough is wonderfully soft and pliable. Adding a touch of unicorn magic makes it even more appealing for creative modeling.
Materials You’ll Need
- 1 cup flour
- 1/2 cup salt
- 1 cup warm water
- 1 tbsp cream of tartar
- 1 tbsp vegetable oil
- Food coloring (pastel pink, blue, purple, yellow)
- Fine glitter (iridescent or silver)
- Essential oil for scent (optional, e.g., lavender or vanilla)
Step-by-Step Dough Dream
- Combine Dry Ingredients: In a large pot, whisk together flour, salt, and cream of tartar.
- Add Wet Ingredients: Stir in warm water and vegetable oil.
- Cook and Stir: Place the pot over medium heat and stir constantly until the mixture forms a ball and pulls away from the sides of the pot (this takes about 5-7 minutes).
- Cool and Divide: Remove from heat and let cool slightly. Divide the dough into several portions.
- Color and Glitter: Knead a few drops of food coloring and a pinch of glitter into each portion until the color is evenly distributed. Add a drop or two of essential oil if desired.
- Store: Store the unicorn playdough in airtight containers or zip-top bags.
Unicorn Treats and Party Ideas
Unicorns aren’t just for crafting; they can inspire delicious treats and memorable party themes! Involving kids in making these simple, magical snacks or decorations can be just as fun as crafting.
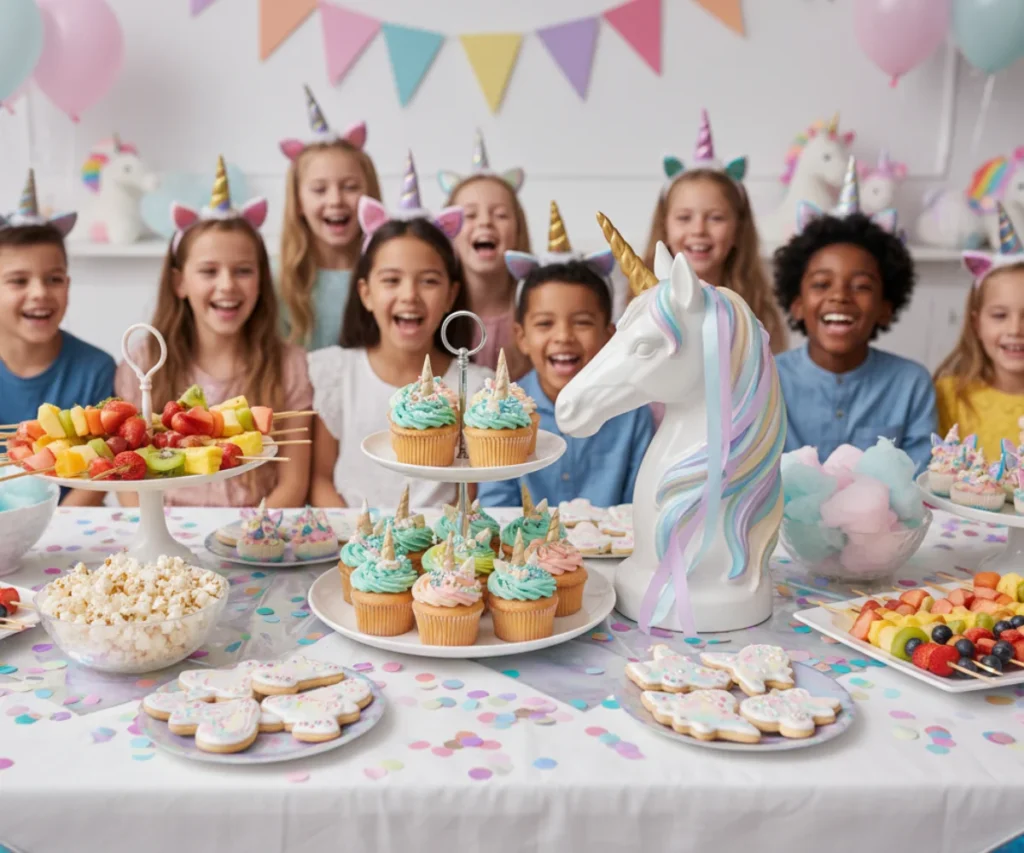
Rainbow Unicorn Fruit Skewers
A healthy, colorful, and fun snack that kids can assemble themselves.
Materials You’ll Need
- Assorted fruits in rainbow colors (strawberries, oranges, pineapple, green grapes, blueberries, red grapes/raspberries)
- Skewers (blunt-tipped for safety)
- Small unicorn cookie cutter (optional, for shaping melon/pineapple)
Step-by-Step Fruity Fun
- Wash and Cut: Wash and cut all fruits into bite-sized pieces. Use the unicorn cookie cutter on melon or pineapple slices for a special touch.
- Skewer: Let kids thread the fruit onto the skewers in rainbow order.
- Enjoy: Arrange on a platter and watch them disappear magically!
Decorate Unicorn Cupcakes
Bake or buy plain cupcakes and let the kids go wild with unicorn-themed decorations!
Materials You’ll Need
- Cupcakes
- White frosting
- Food coloring (pastel colors)
- Sprinkles (rainbow, glittery, star-shaped)
- Edible glitter
- Candy melts or fondant for horns and ears (or use edible wafer paper)
- Piping bags and tips (optional)
Step-by-Step Cupcake Magic
- Color Frosting: Divide white frosting into small bowls and tint with pastel food colors.
- Frost Cupcakes: Let kids spread or pipe colored frosting onto the cupcakes.
- Add Details: Provide a variety of sprinkles, edible glitter, and pre-made edible horns and ears. Guide them to create a unicorn face with rainbow hair.
Tips for Successful Unicorn Crafting with Kids
Crafting with kids, especially with glitter involved, can sometimes feel overwhelming. But with a few simple strategies, you can turn potential chaos into a joyful, bonding experience. Remember, the goal is not perfection, but the process of creation and connection.
Embrace the Mess (and Prepare for It)
Crafts, especially those involving paint, glue, and glitter, are naturally messy. Lay down a plastic tablecloth, old newspaper, or a designated craft mat. Dress kids in old clothes or smocks. Having a wet cloth or baby wipes on hand is a lifesaver. Sometimes, the messiest crafts are the most fun!
Age-Appropriate Projects
Consider your child’s age and skill level when choosing a craft. Toddlers will thrive with simple, large-motor activities like tearing paper or gluing big shapes. Older children can handle more intricate cutting, detailed painting, or multi-step projects. Adjust expectations and provide assistance where needed, but always let them lead as much as possible.
Focus on the Process, Not the Product
The beauty of crafting with children lies in the journey, not just the destination. Encourage experimentation, celebrate their unique ideas, and praise their effort rather than demanding a perfect outcome. A lopsided horn or uneven glitter application is a testament to their independent creativity.
Gather Supplies in Advance
There’s nothing more frustrating than starting a project only to realize you’re missing a key ingredient. Before you begin, gather all materials and lay them out within easy reach. This minimizes interruptions and keeps the creative flow going.
Make it a Shared Experience
Crafting is a wonderful opportunity for quality time. Sit alongside your child, engage in conversation, and even work on your own smaller craft project. Your presence and involvement will make the activity even more special and reinforce the idea that their creativity is valued.
Safety First
Always supervise children, especially when using scissors, hot glue guns (for older kids and with adult handling), or small beads that could be choking hazards for toddlers. Ensure good ventilation when using glues or paints, and always read product labels for age recommendations.
Encourage Imagination and Storytelling
Once a craft is complete, encourage your child to tell you about their creation. Who is their unicorn? What adventures will it go on? This extends the magic and helps develop language and storytelling skills.
Conclusion: Crafting a Little Magic Together

Unicorn crafts offer a delightful gateway into a world of imagination, creativity, and precious bonding moments. From glittery headbands to sparkling slime, each project is an opportunity to explore, learn, and express individuality. Remember, it’s not about making a perfect replica of a Pinterest-worthy craft, but about the laughter shared, the skills learned, and the joy found in creating something magical together.
So, gather your glitter, unleash your inner unicorn, and embark on these enchanting crafting adventures with your little ones. The memories you create will be even more cherished than the beautiful unicorns you bring to life. Happy crafting!