Toddlers are tiny explorers, constantly curious about how the world works around them. Every dropped spoon, every splashed puddle, every new texture is a mini-science experiment in their eyes. As parents, we have a wonderful opportunity to nurture this innate curiosity and turn it into precious bonding moments.
Science doesn’t have to be complicated or messy to be fun. In fact, many simple activities using everyday household items can introduce fundamental concepts while strengthening your connection with your little one. These experiences aren’t just about learning facts; they’re about sharing wonder, encouraging discovery, and building beautiful memories together.
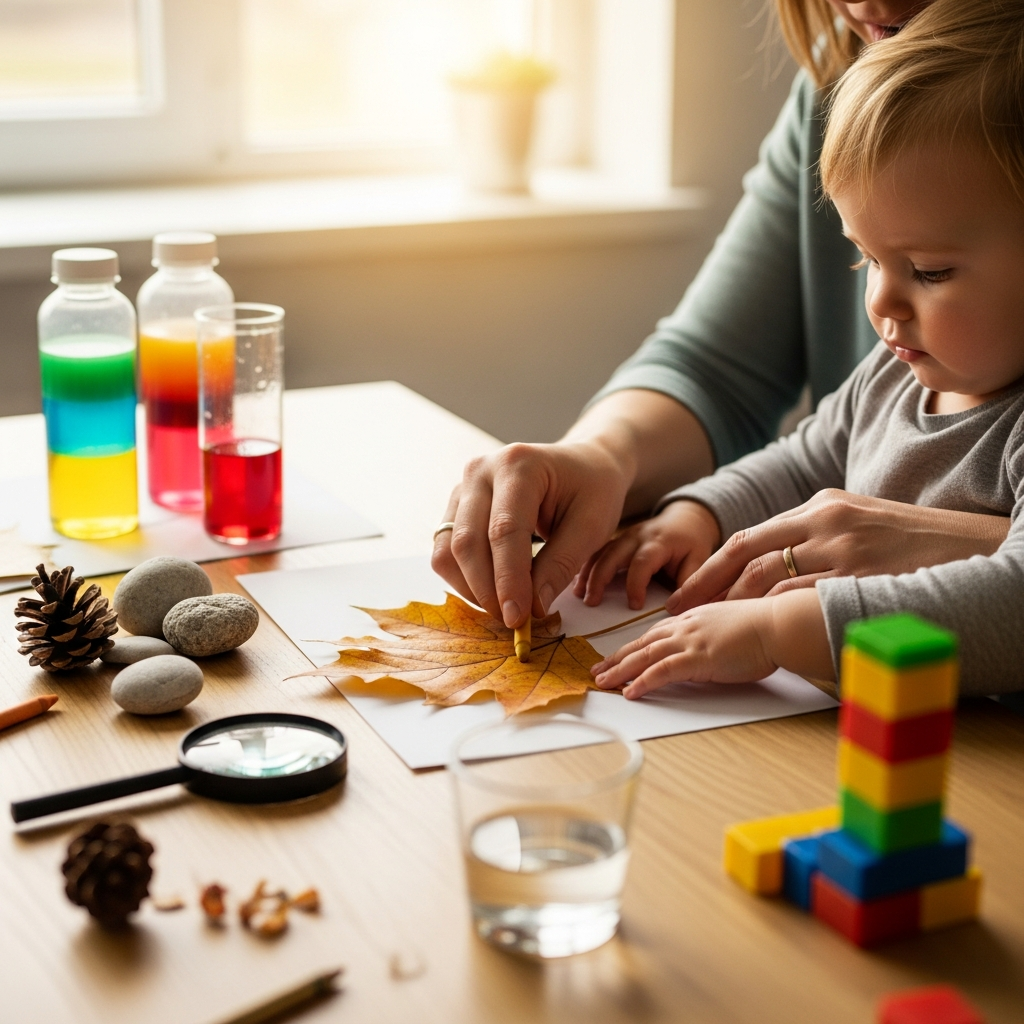
Here are 12 delightful science activities designed to spark joy, ignite learning, and help you bond deeply with your toddler.
Why Science with Toddlers Matters for Bonding

Engaging in science activities with your toddler offers more than just educational benefits. It’s a powerful way to connect.
Shared Discovery
When you explore alongside your child, you’re sharing in their sense of wonder. You’re their guide, their fellow adventurer, and their biggest cheerleader. This shared experience builds a strong emotional connection.
Language Development
Talking about what you see, feel, and observe during these activities helps expand your toddler’s vocabulary. You can introduce new words like “float,” “sink,” “bubbly,” or “smooth.”
Problem-Solving Skills
Even simple activities encourage toddlers to predict, observe, and understand cause and effect. This lays the groundwork for critical thinking.
Sensory Exploration
Many science activities engage multiple senses, which is crucial for a toddler’s development. Touching, smelling, seeing, and sometimes even hearing new things helps them understand their world.
1. Rainbow Water Play
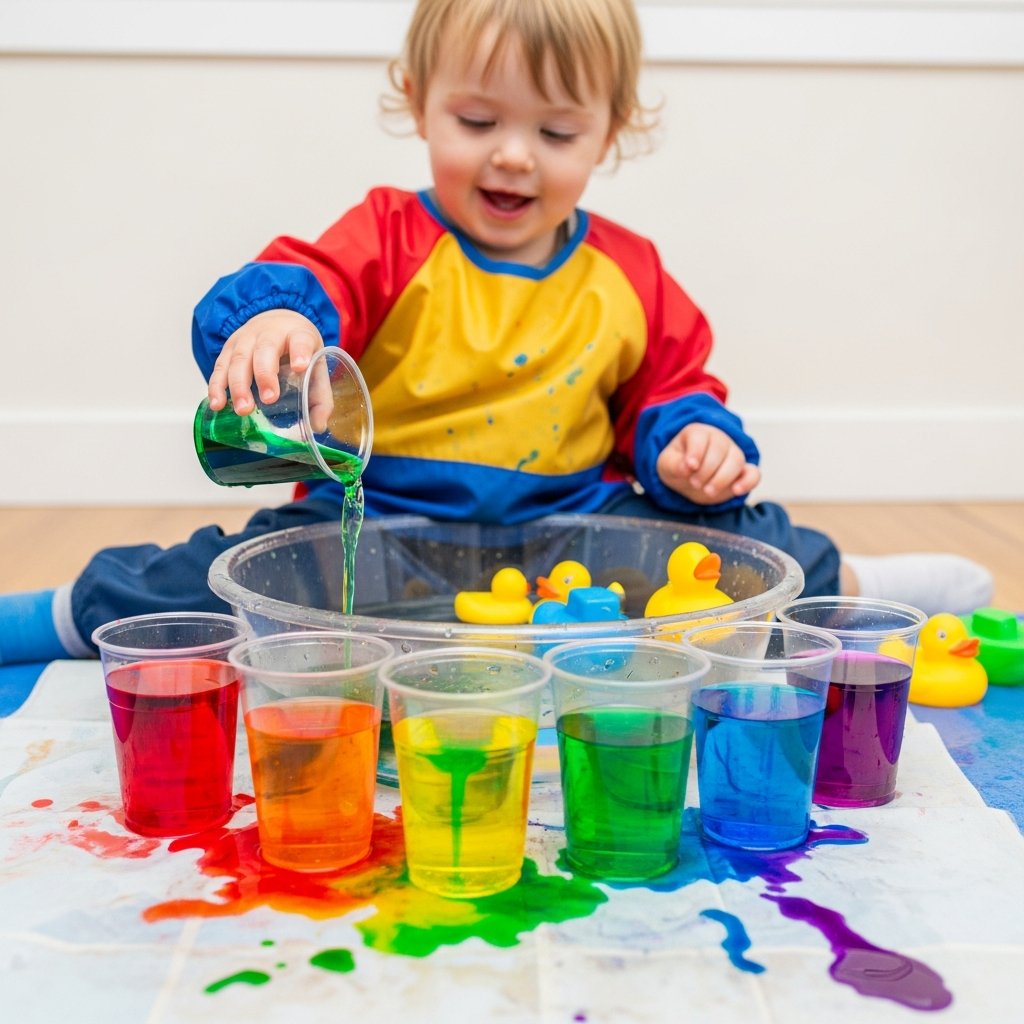
This simple activity is a magical introduction to colors and how they mix.
What it is:
Setting up clear cups of water with food coloring and letting your toddler mix them.
The Science:
Color mixing, observation, cause and effect, properties of liquids.
Materials You’ll Need:
* Clear plastic cups or jars
* Water
* Food coloring (red, yellow, blue are perfect primaries)
* Droppers or small spoons
* A tray or towel for spills
How to Do It:
1. Fill several cups with water, about halfway.
2. Add a few drops of a single primary color to each cup (one red, one yellow, one blue).
3. Show your toddler how to use a dropper or spoon to transfer water from one colored cup to another.
4. Watch together as new colors emerge. “What happens if we put blue in yellow?”
Bonding Tip:
Sit at eye level and marvel at the colors together. Use descriptive words and encourage your toddler to point out their favorite new shades. Celebrate every new color they create!
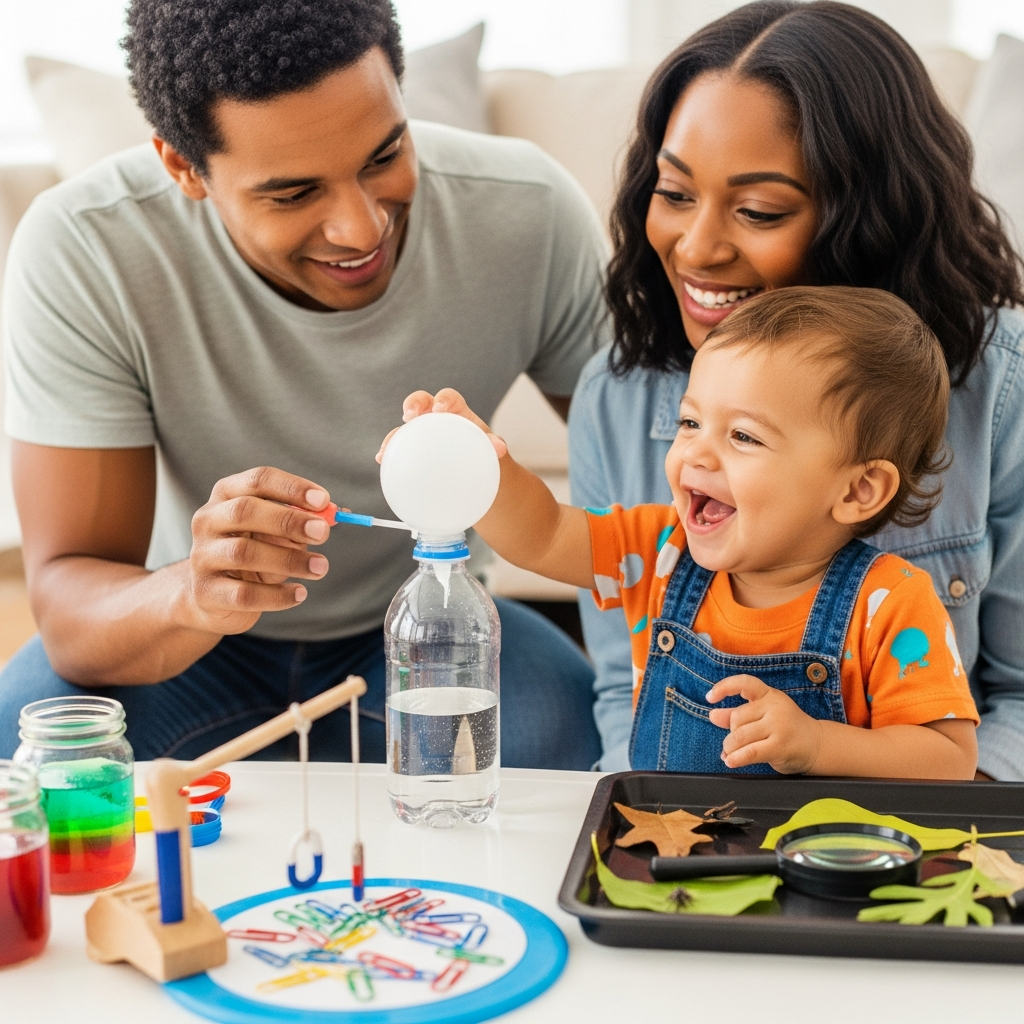
2. Baking Soda Volcano
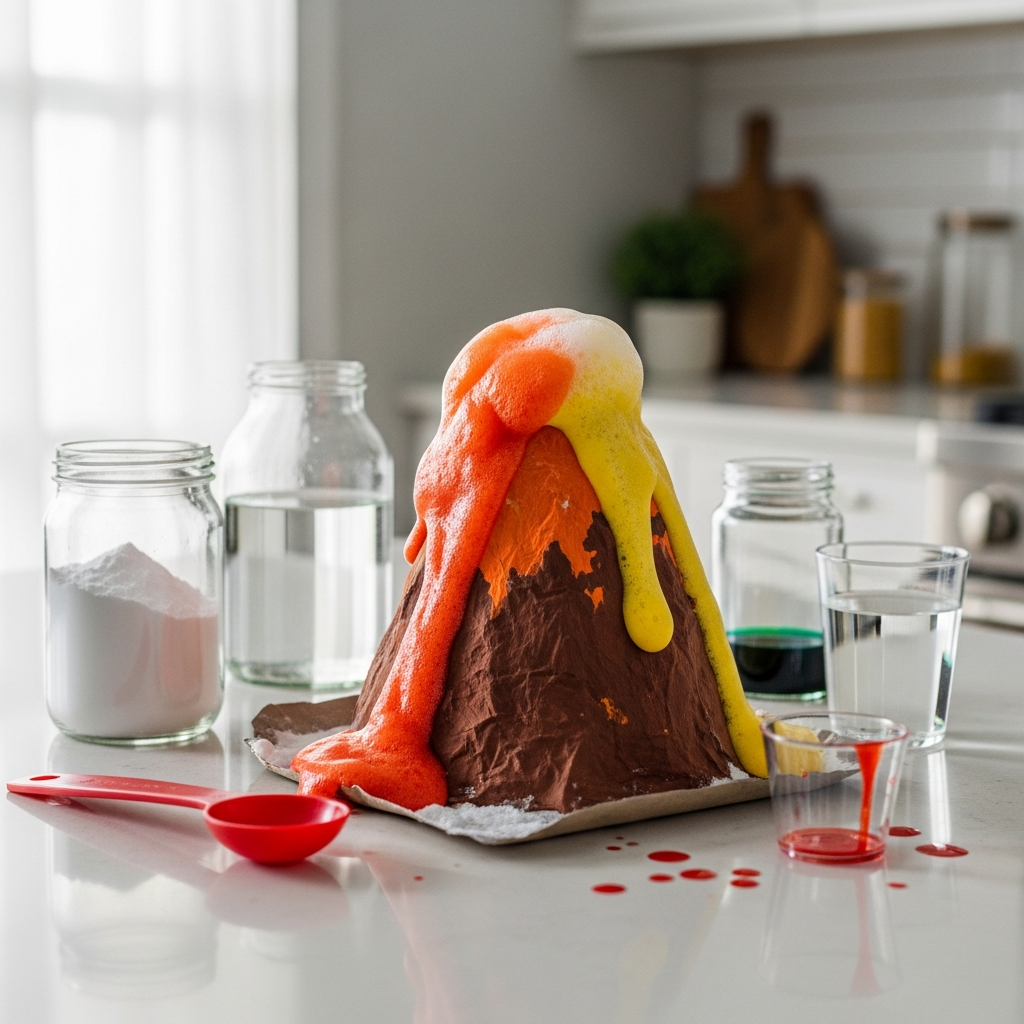
A classic for a reason, this erupting experiment never fails to amaze.
What it is:
Creating a small “volcano” that erupts with bubbly foam.
The Science:
Chemical reactions, cause and effect, observation of gases.
Materials You’ll Need:
* A small container (like a plastic cup or jam jar)
* Baking soda
* Vinegar
* Food coloring (optional, but fun for a colored “lava”)
* Dish soap (optional, makes more foam)
* A tray or baking dish to catch the eruption
How to Do It:
1. Place the small container in the center of your tray.
2. Put a few spoonfuls of baking soda into the container.
3. Add a few drops of food coloring and a squirt of dish soap, if using.
4. Slowly pour vinegar into the container and step back to watch the bubbly reaction.
Bonding Tip:
Build anticipation by talking about what might happen. Give your toddler the job of pouring the vinegar (with supervision!). Share their giggles and surprise as the “lava” overflows.
3. Sink or Float
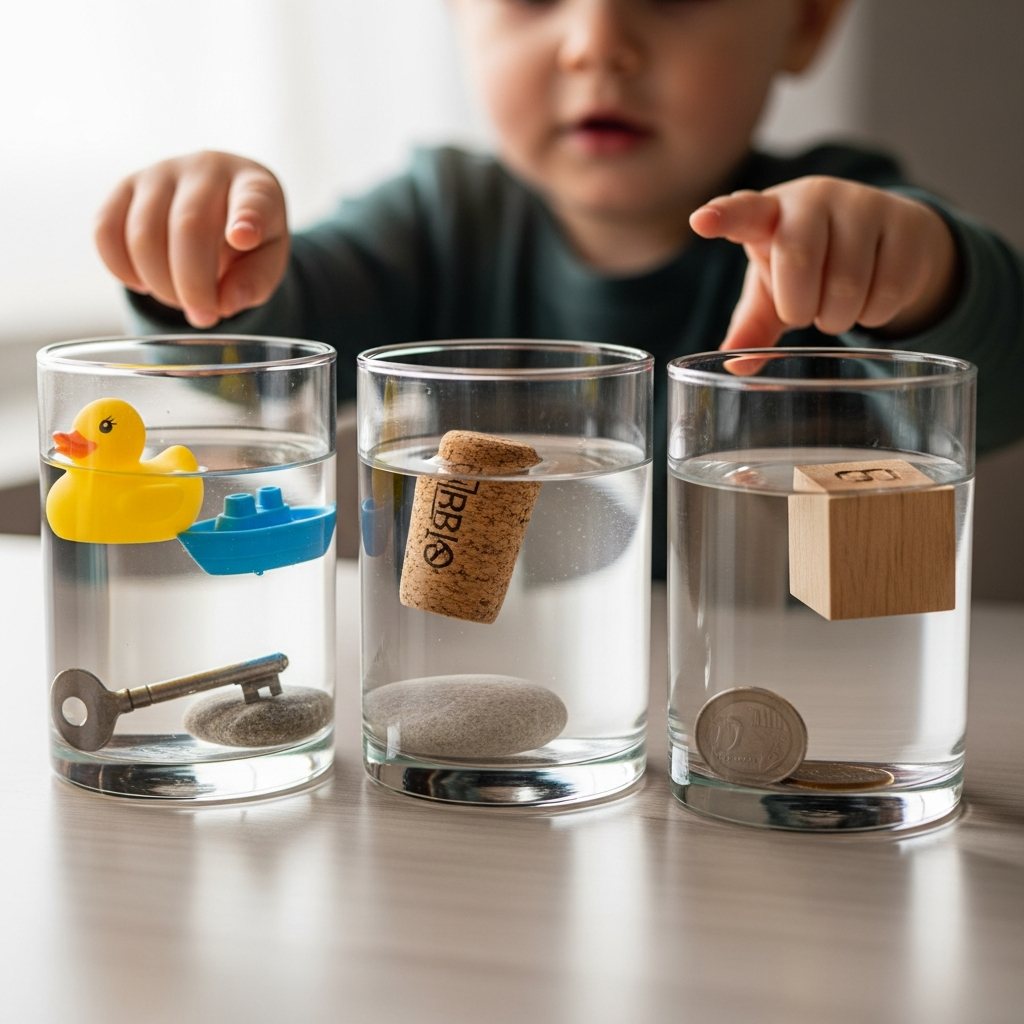
A wonderful activity for predictions and understanding buoyancy.
What it is:
Testing various small objects to see if they sink to the bottom or float on top of water.
The Science:
Buoyancy, density, prediction, observation.
Materials You’ll Need:
* A large clear bin or bowl filled with water
* Various small, toddler-safe objects: a block, a leaf, a small toy car, a sponge, a pebble, a plastic duck, a piece of fruit.
How to Do It:
1. Gather your objects near the water bin.
2. Pick up an object and ask your toddler, “Do you think this will sink or float?” Encourage them to guess.
3. Gently place the object in the water and observe what happens.
4. Talk about the results: “Wow, the leaf is floating! But the rock sank right to the bottom.”
Bonding Tip:
Make it a game of “guessing.” Let your toddler choose the objects to test. Talk about why they think some things float and others sink, even if their reasoning is purely imaginative.
4. DIY Lava Lamp

A mesmerizing visual treat that teaches about liquids that don’t mix.
What it is:
Creating a simple “lava lamp” effect in a bottle using oil, water, and an effervescent tablet.
The Science:
Density, immiscibility (liquids not mixing), chemical reactions.
Materials You’ll Need:
* A clear plastic bottle or jar (empty and clean)
* Vegetable oil
* Water
* Food coloring
* Alka-Seltzer or similar effervescent tablets
How to Do It:
1. Fill the bottle about two-thirds full with vegetable oil.
2. Slowly add water until the bottle is nearly full, leaving some space at the top. Notice how the water sinks below the oil.
3. Add about 10-15 drops of food coloring. Watch as they pass through the oil and mix with the water.
4. Break an Alka-Seltzer tablet into small pieces and drop one piece into the bottle.
5. Watch the colorful bubbles rise and fall, creating a lava lamp effect!
Bonding Tip:
Dim the lights for a more dramatic effect. Talk about the “dancing” colors and the bubbles. This is a great calm-down activity to do together before nap time or bedtime.
5. Ice Cube Melting Race
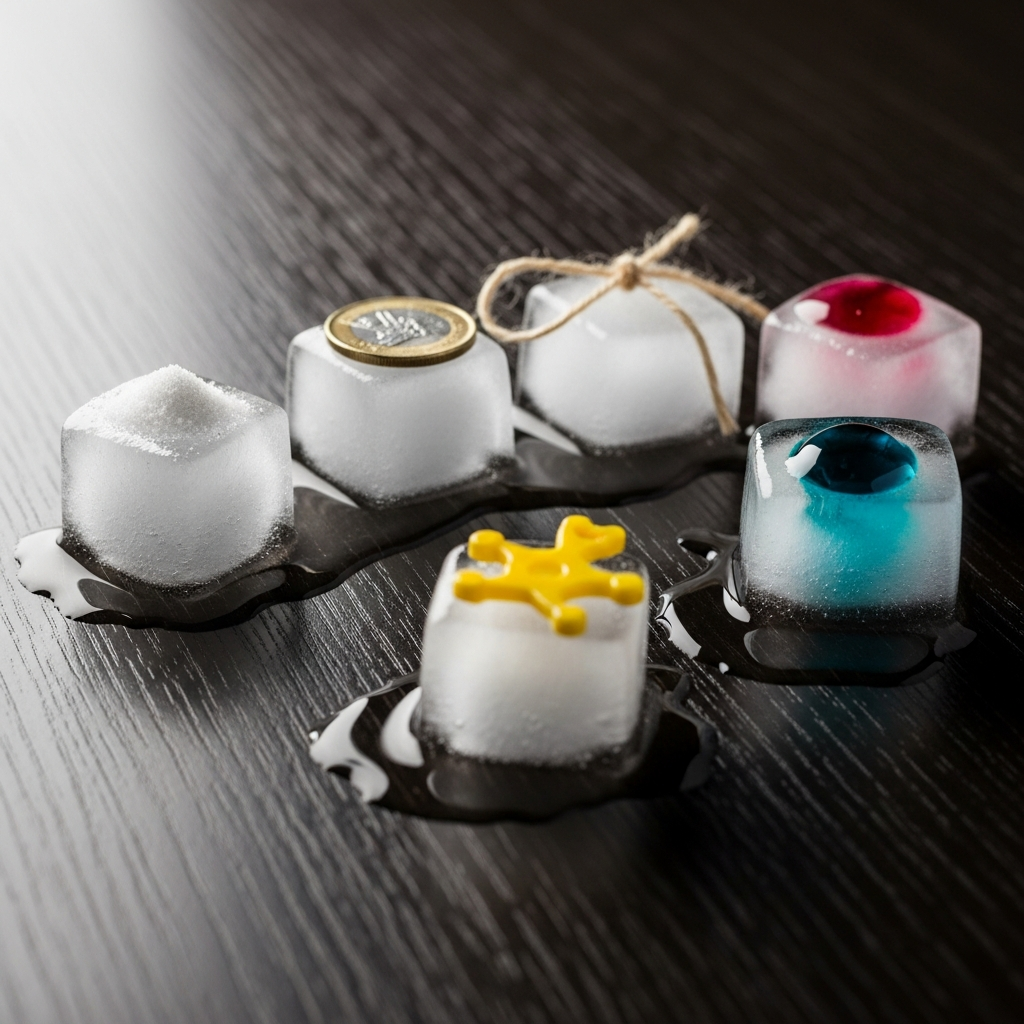
Exploring states of matter and the effects of temperature.
What it is:
Observing how ice melts under different conditions or simply racing a few ice cubes.
The Science:
States of matter (solid to liquid), temperature, observation.
Materials You’ll Need:
* Ice cubes
* Small plates or a tray
* Optional: salt, warm water, a small fan
How to Do It:
1. Place a few ice cubes on a tray or separate plates.
2. Ask your toddler, “How can we make the ice melt faster?”
3. Try different methods: holding an ice cube in their hand, sprinkling a little salt on one, pouring a tiny bit of warm water over another, or even blowing on it.
4. Observe which one melts first.
Bonding Tip:
Turn it into a sensory experience. Let your toddler touch the cold ice, feel the melting water. Talk about “cold,” “wet,” and “melting.” High-five their predictions!
6. Nature Scavenger Hunt & Collection

Connecting with the outdoors and learning about natural objects.
What it is:
Going on a walk to find and collect various natural items.
The Science:
Observation, classification, sensory exploration, botany (basic understanding of plants).
Materials You’ll Need:
* A small bag or basket for collecting
* An outdoor space (backyard, park, walking trail)
How to Do It:
1. Before you go, talk about what you might find: “Let’s look for a smooth rock, a crinkly leaf, a green twig.”
2. Walk together, pointing out different textures, colors, and shapes in nature.
3. Encourage your toddler to pick up items they find interesting.
4. When you get home, spread out your treasures and talk about each one.
Bonding Tip:
This is a perfect opportunity for conversation. Ask open-ended questions like, “What do you notice about this leaf?” or “How does this rock feel?” Enjoy the fresh air and shared exploration.
7. Sound Shakers

Discovering how different materials make different sounds.
What it is:
Making simple musical instruments by putting various items into containers.
The Science:
Acoustics, sound properties, cause and effect.
Materials You’ll Need:
* Empty, clean plastic bottles or small containers with lids (ensure they are securely closed)
* Various small items: rice, dry beans, pasta, pebbles, cotton balls, buttons, paper clips
How to Do It:
1. Place a different item (or a combination) into each bottle.
2. Secure the lids tightly (you can even glue them shut for safety).
3. Shake each bottle and listen to the different sounds they make.
4. Compare the sounds: “Does the rice sound different from the beans?”
Bonding Tip:
Have a mini dance party with your shakers! Take turns shaking and guessing what might be inside. This is a wonderful way to introduce rhythm and listening skills.
8. Magnet Play
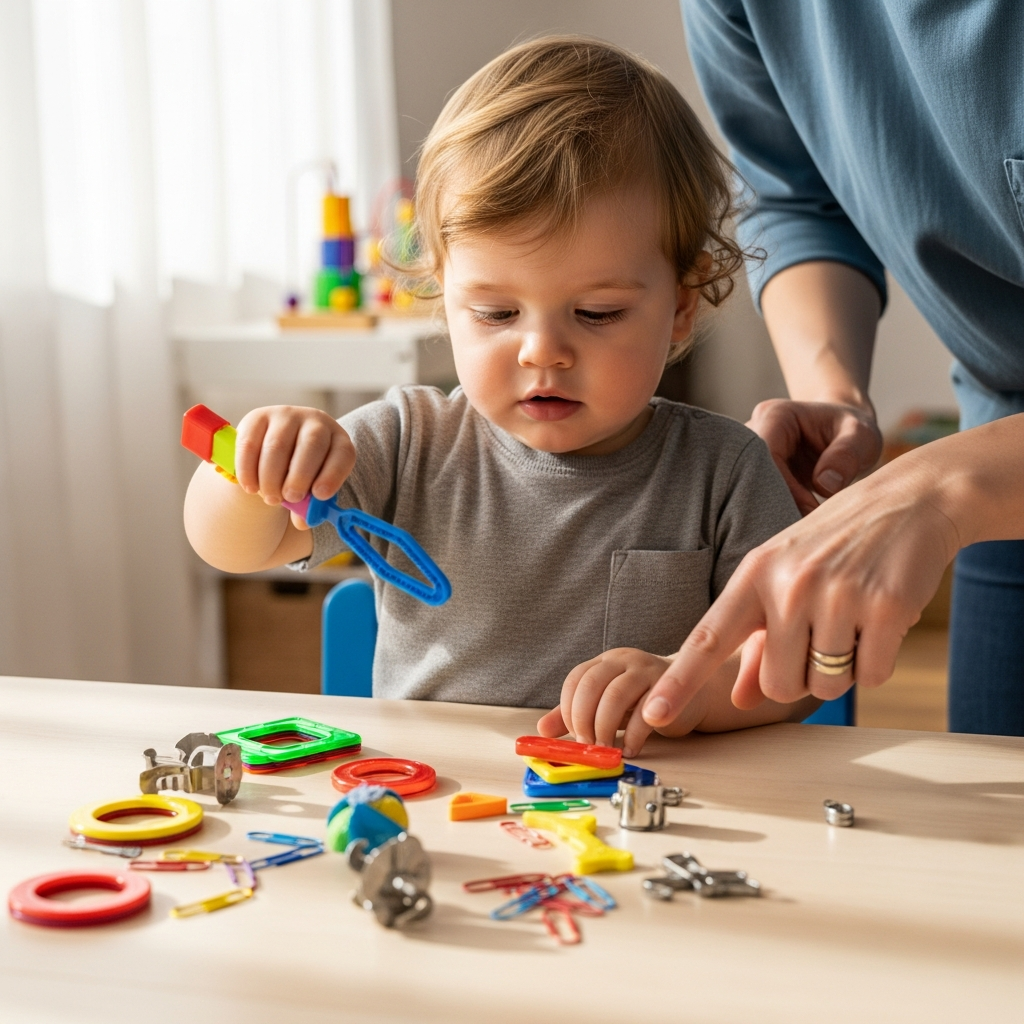
A fascinating introduction to the invisible force of magnetism.
What it is:
Exploring which objects are attracted to a magnet and which are not.
The Science:
Magnetism, attraction and repulsion, classification.
Materials You’ll Need:
* Toddler-safe magnets (large wands or horseshoe magnets are good)
* A variety of small objects: paper clips, coins, keys, plastic toys, fabric scraps, wooden blocks, metal spoons.
How to Do It:
1. Gather your collection of objects.
2. Show your toddler how the magnet sticks to some metal items.
3. Let them hold the magnet and test each object. “Does the magnet stick to the block? How about the paper clip?”
4. Create two piles: “magnetic” and “not magnetic.”
Bonding Tip:
Make it a treasure hunt! Hide some metal objects around the room and let your toddler use the magnet to “find” them. Be careful to supervise closely so magnets aren’t ingested.
9. Color Mixing with Paint or Playdough

A hands-on way to understand primary and secondary colors.
What it is:
Mixing primary colored paints or playdough to create new colors.
The Science:
Color theory, observation, cause and effect.
Materials You’ll Need:
* Washable paints (red, yellow, blue) and paper OR
* Playdough (red, yellow, blue)
* Paintbrushes (if using paint)
How to Do It:
1. **With Paint:** Put dabs of primary colors on paper. Guide your toddler to mix two colors together. “What happens when we mix yellow and blue?”
2. **With Playdough:** Give your toddler small balls of red, yellow, and blue playdough. Show them how to squish two colors together to create a new one.
Bonding Tip:
Get messy together! Focus on the process of mixing and discovery, not on creating a perfect picture or shape. Use words like “squish,” “blend,” and “swirl.”
10. Shadow Play

Exploring light and its absence in a fun, imaginative way.
What it is:
Creating shadows with hands and objects using a light source.
The Science:
Light, shadows, shapes, cause and effect.
Materials You’ll Need:
* A flashlight or lamp
* A blank wall or a sheet hung up
How to Do It:
1. Find a dark or dimly lit room.
2. Shine the flashlight onto the wall.
3. Hold your hand or a toy between the light and the wall to make a shadow.
4. Show your toddler how to make simple hand puppets like a dog or a bird.
5. Let them experiment with their own hands and small toys.
Bonding Tip:
Make up stories with your shadows. Ask, “What kind of shadow can you make?” Laugh together as you watch your shapes dance on the wall.
11. Planting Seeds
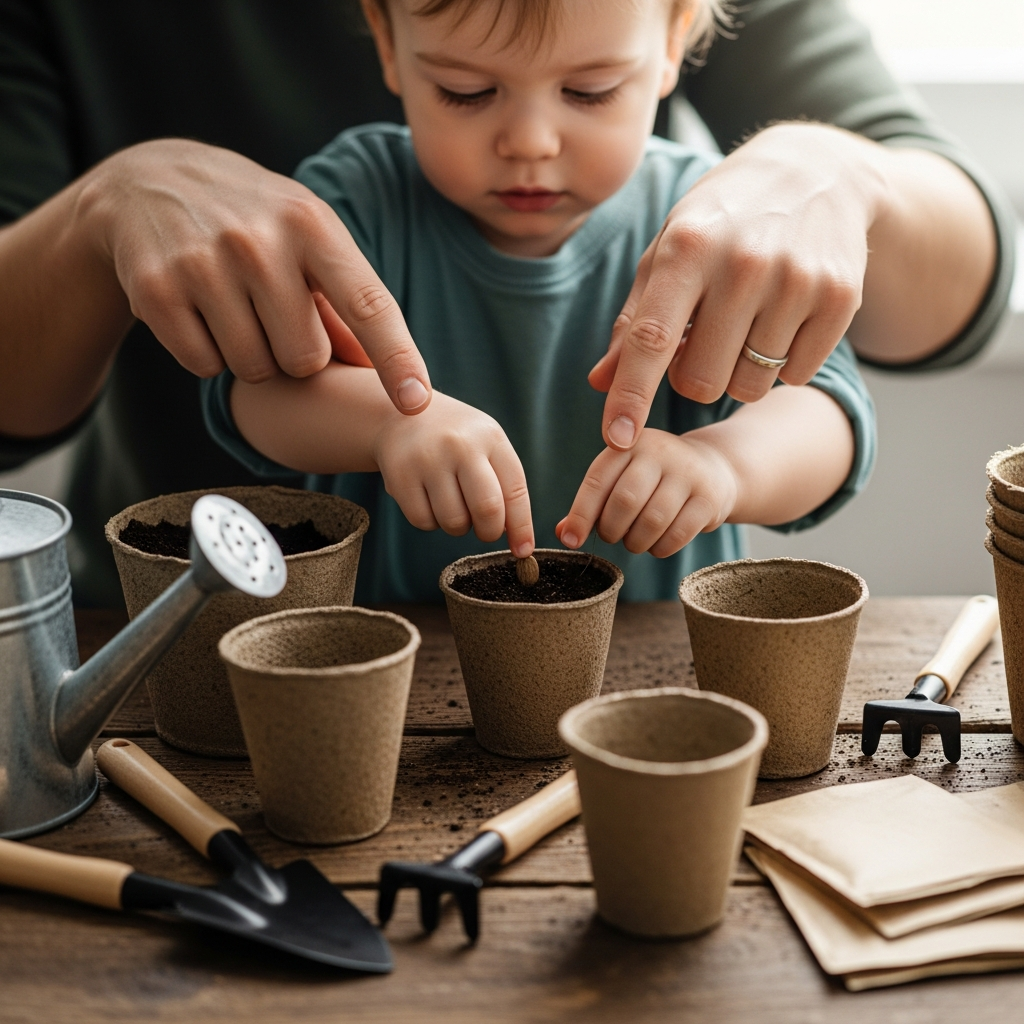
A gentle introduction to life cycles and nurturing.
What it is:
Planting a simple seed and watching it grow over time.
The Science:
Life cycles, botany, observation, needs of living things (water, sunlight).
Materials You’ll Need:
* Small pots or biodegradable seed starting cups
* Potting soil
* Easy-to-grow seeds (beans, marigolds, radishes are good choices)
* Small watering can
How to Do It:
1. Fill the pot with soil.
2. Show your toddler how to poke a small hole in the soil with their finger.
3. Place a seed in the hole and gently cover it with more soil.
4. Give it a little drink of water.
5. Place the pot in a sunny spot and check it daily for signs of growth.
Bonding Tip:
Talk about what the seed needs to grow and how you’re helping it. “Our little seed needs water and sunshine, just like you need food and rest.” This teaches patience and responsibility.
12. Cloud Dough or Moon Sand
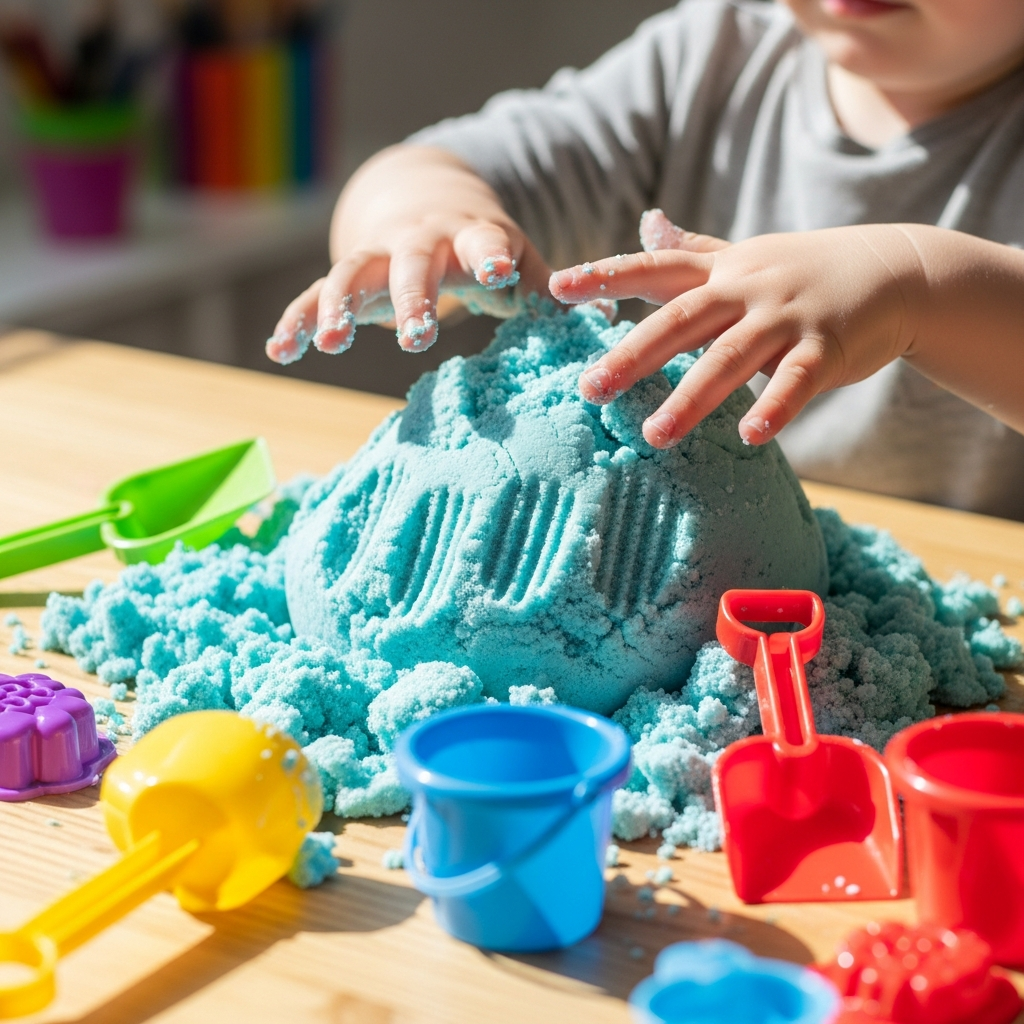
A wonderful sensory experience exploring material properties.
What it is:
Making a moldable, soft dough from flour and oil.
The Science:
Properties of matter, sensory exploration, cause and effect (how ingredients change texture).
Materials You’ll Need:
* 8 cups of flour
* 1 cup of vegetable oil
* A large bin or tray
* Optional: cookie cutters, small scoops, plastic toys
How to Do It:
1. Pour the flour into the bin.
2. Slowly drizzle in the oil, mixing with your hands as you go.
3. Keep mixing until the flour absorbs the oil and forms a soft, crumbly, moldable dough.
4. Let your toddler play, squish, mold, and create with the cloud dough.
Bonding Tip:
Describe the texture together: “It’s so soft! It feels like powder, but we can make a ball!” This is a calming sensory activity that invites open-ended play and shared tactile discovery.
Making Science Play Easy and Fun
Remember, the goal of these activities isn’t perfection or formal learning. It’s about connection, shared joy, and fostering a love for discovery.
* Keep it Simple: Toddlers thrive on simplicity. Don’t overcomplicate the instructions or materials.
* Embrace the Mess: Science can be messy, and that’s part of the fun! Lay down a sheet or play outdoors to minimize cleanup worries.
* Follow Their Lead: If your toddler is more interested in splashing the water than mixing colors, let them! Their curiosity is the guide.
* Use Everyday Language: Talk about what you’re doing in simple, descriptive terms. “Look, it’s bubbling!” “This feels bumpy.”
* Focus on the Process: The outcome isn’t as important as the journey of exploration and observation you take together.
* Repeat Often: Toddlers love repetition. Doing the same activity multiple times allows them to grasp concepts more deeply and build confidence.
Conclusion
Embarking on scientific adventures with your toddler is a truly rewarding experience. These simple activities offer more than just a peek into the wonders of the world; they create a unique space for you and your child to connect, learn, and grow together. Through shared moments of “oohs” and “aahs,” giggles, and discoveries, you’re not just doing science; you’re building a bond that will last a lifetime. So, gather your simple supplies, open your minds to wonder, and enjoy every precious moment of discovery with your favorite tiny scientist.